Shed Build Update: Clever Tricks, Broken Jigs & A Nailing Nightmare!
The shed build is making progress, I'm making mistakes, and sharing clever tricks!
The Shed Build Continues
Welcome back to The Woodworking Shed! This week, I’m making progress on the shed build, reviewing my sawing jig, sharing a top tip, and fixing mistakes all over the place.
It’s been a journey!
To recap: In the last episode, I cut all the pieces required to assemble the shed base. In the background, I've also cut (almost) everything needed to build the side frames. There’s a link below to catch up if you missed it.
Right, let's get back to building!
New to The Woodworking Shed?
Catch Up: Explore every episode in this series and more on the index page!
Last Episode: Missed the last episode? Dive in here:
Join the Community: Subscribe for free to get the latest projects, tips, and tales from The Woodworking Shed. Let's build something together! 🪚
Nailing It: Assembling the Shed Base
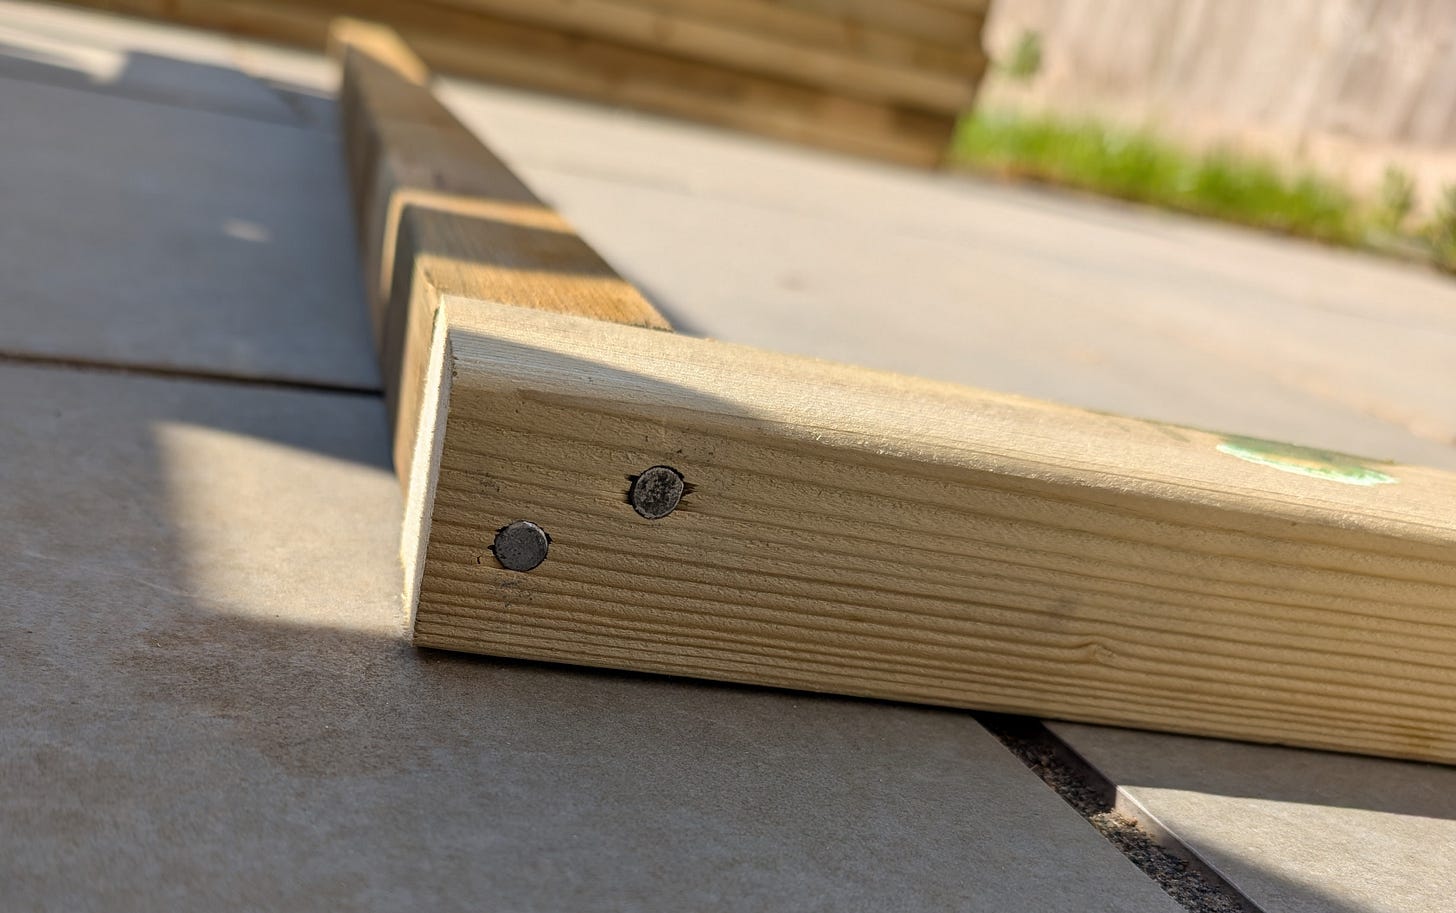
I'm using two 75 mm nails for each joint. Any more than that and I risk splitting the wood! I spaced them diagonally so they wouldn't be so close together, which should also provide a stronger joint.
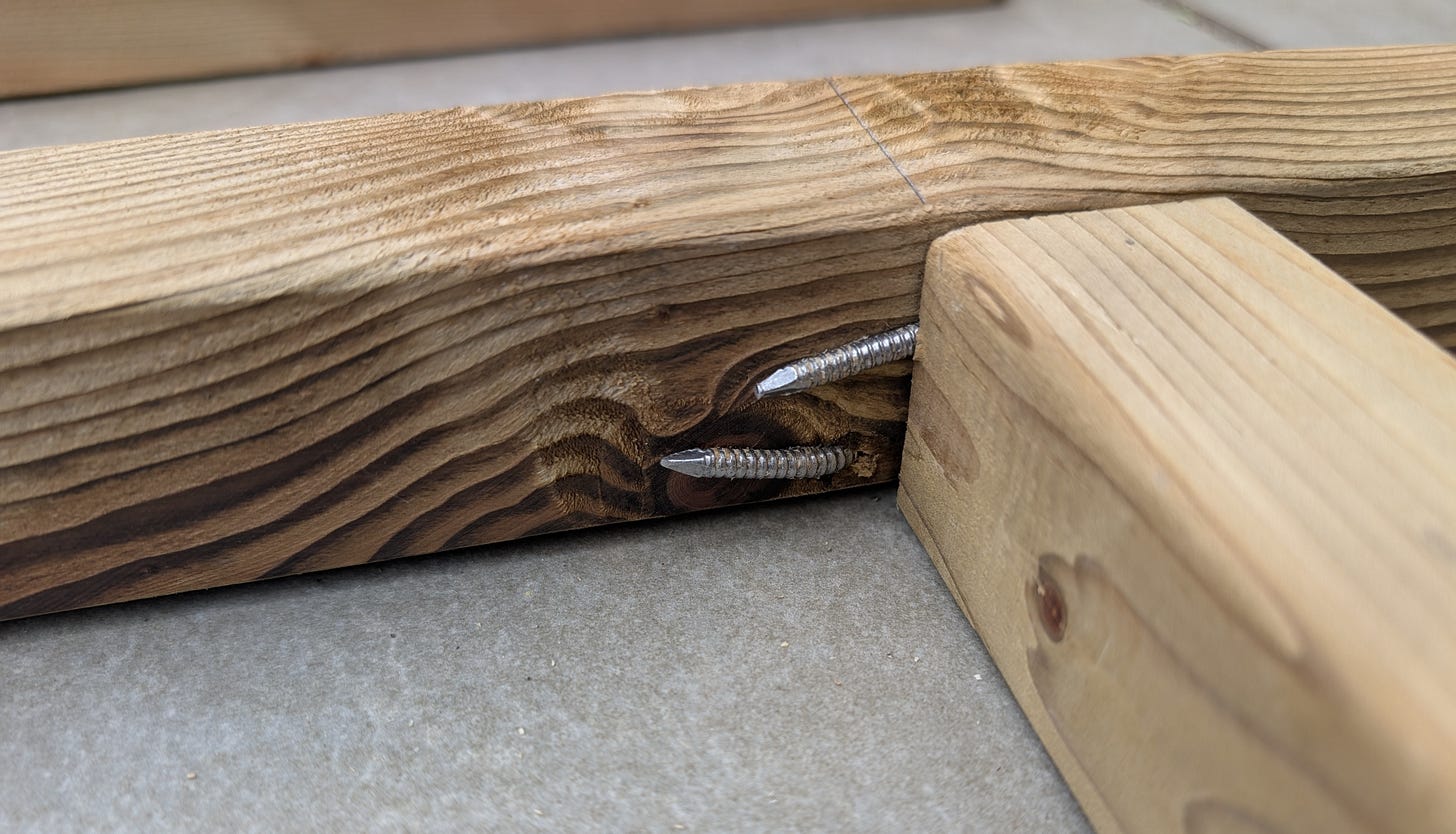
I was so cautious with nail placement, keeping away from the edges, trying not to split the wood. And then it happened anyway…
I suppose it was inevitable?
Wanting to avoid missing the mark with any more nails (it happened twice!) I decided to do something about it. But what?
Carpenter's Square to the Rescue: Finding Centre (the Smart Way!)
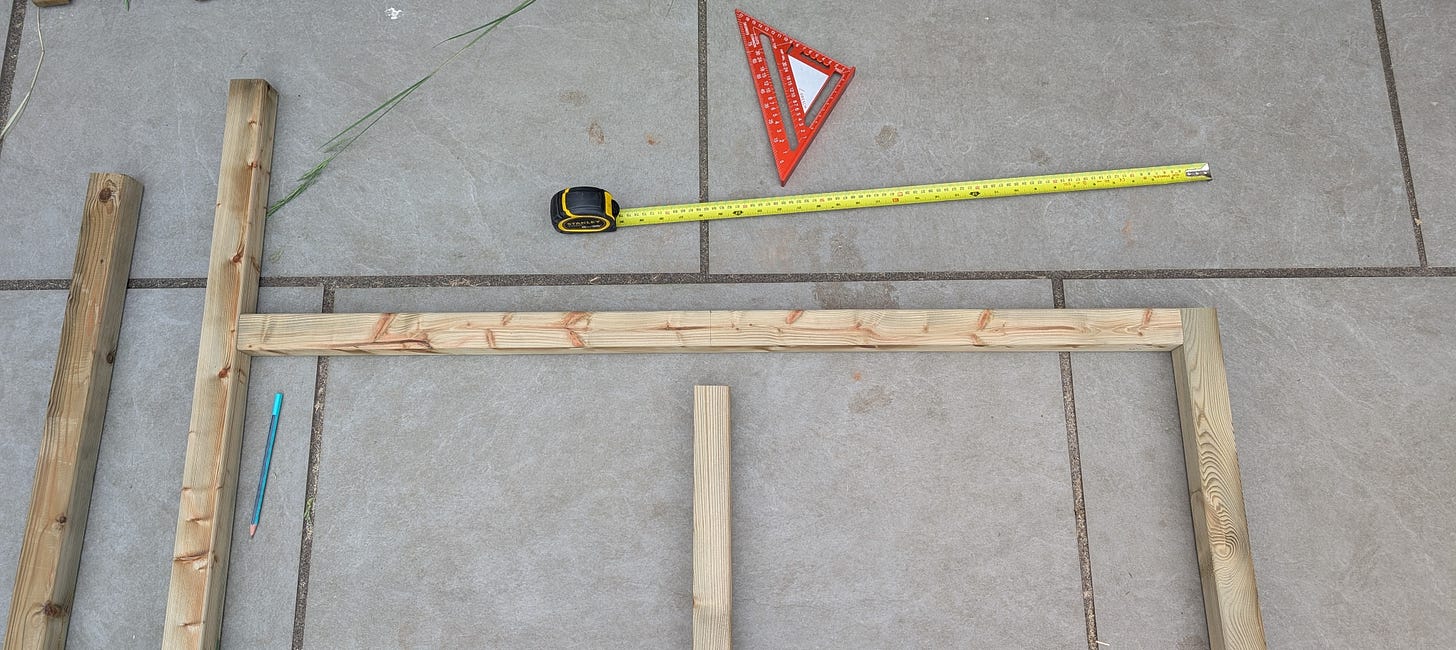
I had the idea that if I marked the centre on all of the pieces, it would help with hammering all these nails home. Especially the middle pieces. It would also help with lining up pieces
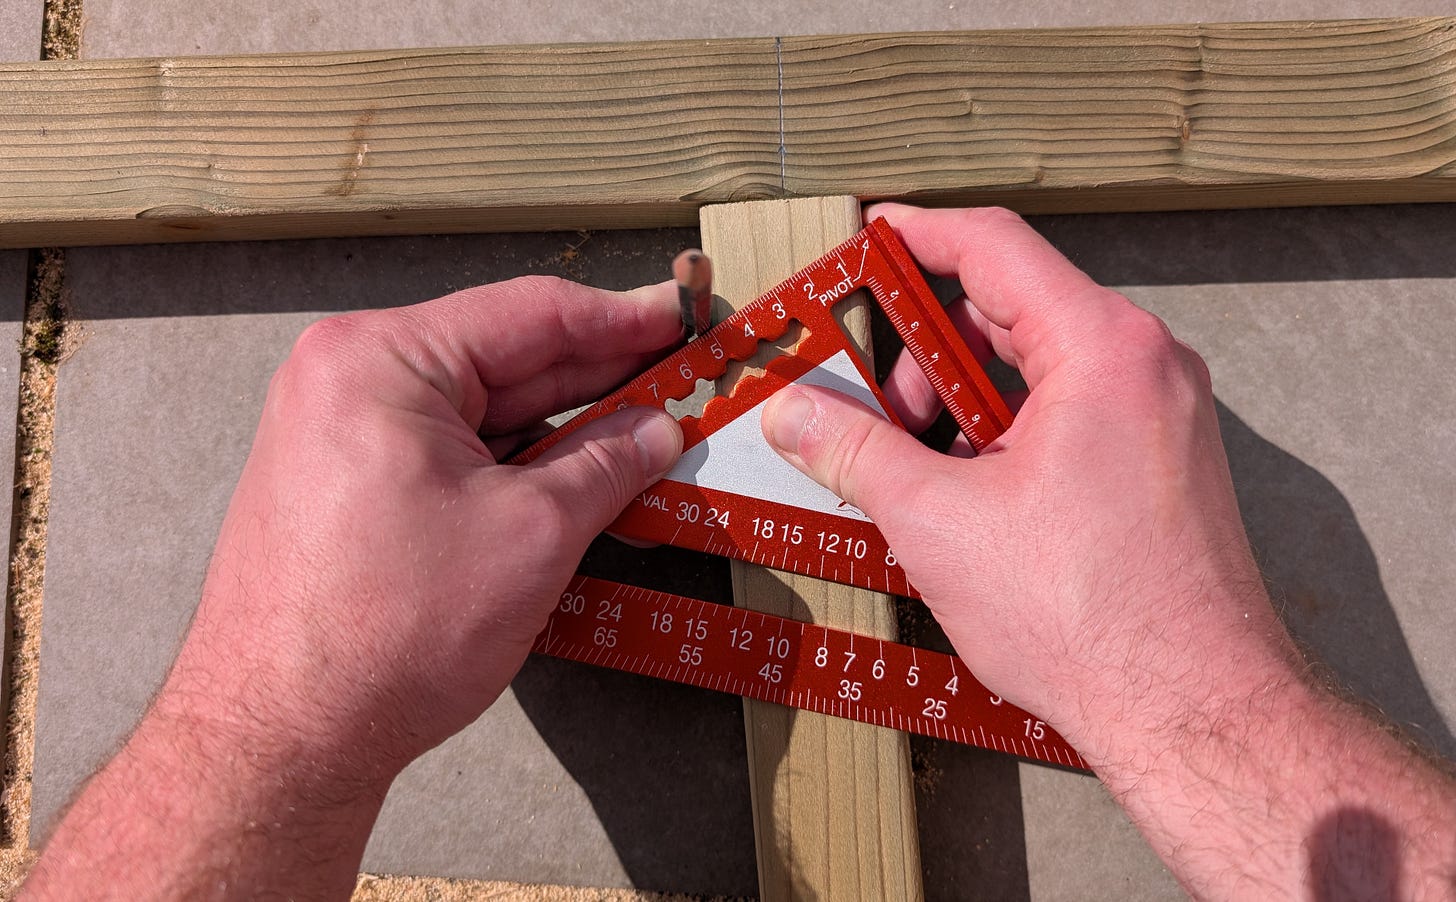
Marking centre with a carpenter’s square is so easy. Here's how to do it:
Wait, you know how to find the centre, right? Just measure the width and divide by 2. Good luck finding 22.32 on your ruler! Here's a faster way!
Rather than measure across the width, pivot the square until it measures a round number. I used 5 cm, then just mark off 2.5 cm, and you have the centre. Quick, accurate, and a time saver!
Tip: Use a pencil or straight edge to help read over the round over if your material has one. It saves even more time!
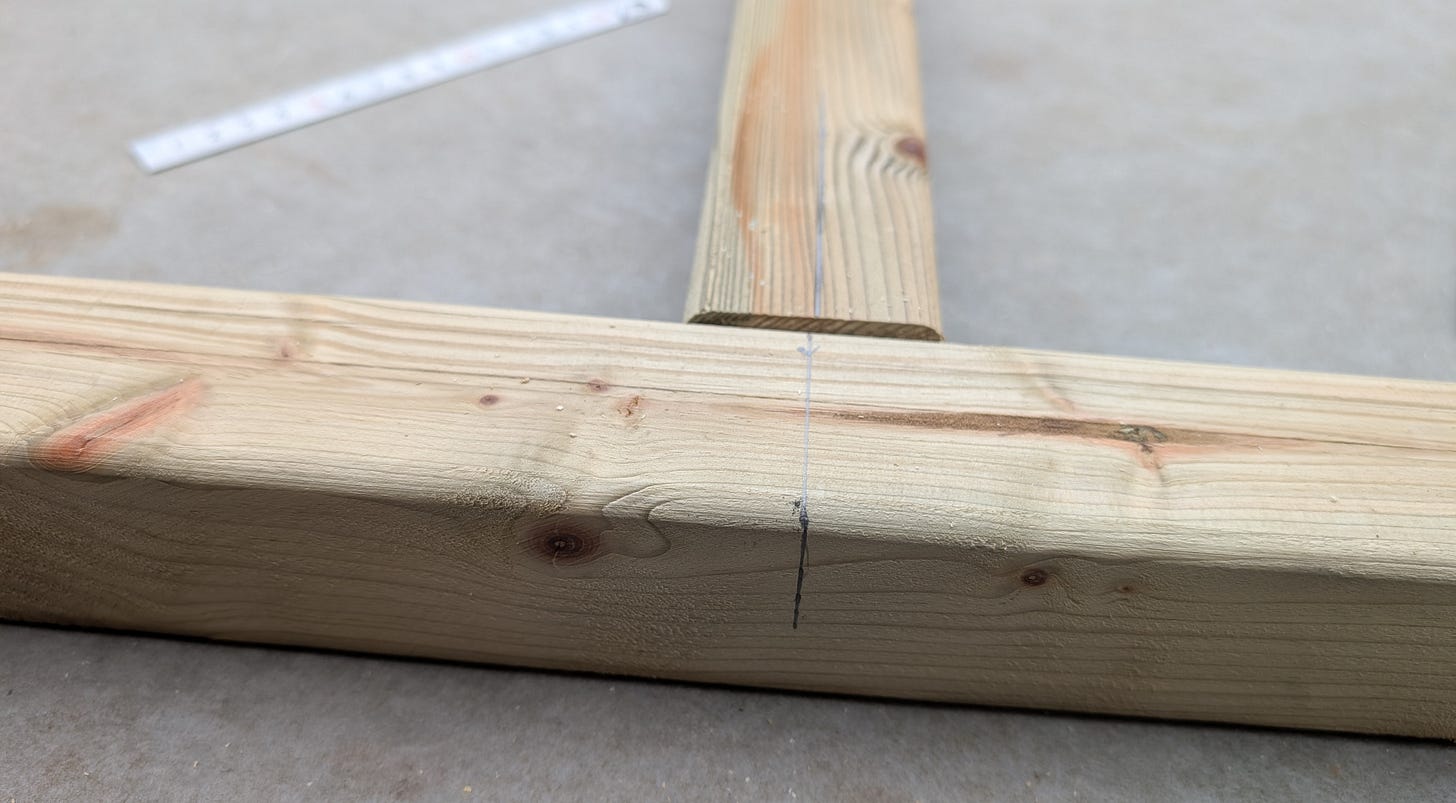
Once the centre is found, it’s easy to transfer that line onto the next piece to help with alignment. I also took the line over the edge to give myself a reference to line up my nails.
You can do this with a ruler or even a tape measure, but the pivot point on the carpenter’s square makes it so much easier!
Getting Help: Enlisting an Old Friend
When it came to fitting the OSB floor boards, I needed help, so I enlisted an old friend with loads of shed-building experience: My drill. It’s built every shed I’ve built, so it had to make an appearance.
Fixing the floorboards down was quick work. A screw here, a screw there, monotonous assembly work, but entirely necessary! The finished base is solid as a rock! It makes me wish that this was for the workshop instead of storage, not the other way around - Someday…
Farewell, Saw Jig: A Brief (and Brutal) Review
Well, it was good while it lasted… I think? It's really tough for me to say whether it ever made any difference at all.
On the one hand, my first cuts with it were pretty straight. But they are without it when I'm not rushing and actually pay attention! I do feel like I can get lined up and sawing quicker since using it, though. Maybe there’s a chance it did fulfil its purpose? To improve my muscle memory!
Perhaps you picked it up from the tone, the saw jig is no more. I'm not sure how it happened, but the short of it is one cut went sideways and ruined it. R.I.P.
Oh well, moving on!
To Knife Wall or Not To Knife Wall
I’ve been using a knife wall on one side when cutting every framing piece. Is it necessary? Probably not. I’ve seen some horrifically bad framework cuts on Reddit - And those are from house builds! I’m doing it anyway for these reasons:
The knife wall provides a perfect guide to start my saw cut, getting me started faster. Saving time!
It’s a good habit! I want to make sure that I’m trained to do a knife wall for every cut, so when I get into finer woodwork, it’s never an issue!
So, while you could skip it for rough framing, I find those few swipes of the knife make the process more enjoyable and a bit more precise. For the few seconds it takes to do it’s a no-brainer for me!
What’s the worst joint you’ve seen? Let me know in the comments!
Building the Sides: Double Disaster
Building the sides was more of the same: mark the centre of each piece, line it up, and nail it together. They were going together quickly until disaster struck… I cut the centre support for both sides to the wrong length.
They were out by exactly the thickness of the material. Clearly, I’ve misjudged something somewhere. There was no getting around it, I had to cut two new pieces. Thankfully, I have lots of material to spare!
I cut the two new pieces and finished the first side frame without a hiccup - back on track! Then the second frame… Disaster… Again…
The freshly cut support piece didn’t fit. It was miles out… I couldn’t see the issue, so I put the frame on top of the finished one, and it stood out like a saw thumb. I’d nailed the top beam in completely out of square…
It was an easy fix. I hammered the pieces apart, remeasured and fixed the issue. I couldn’t remove the old nails, so they got bent over and left. A permanent reminder to measure twice.
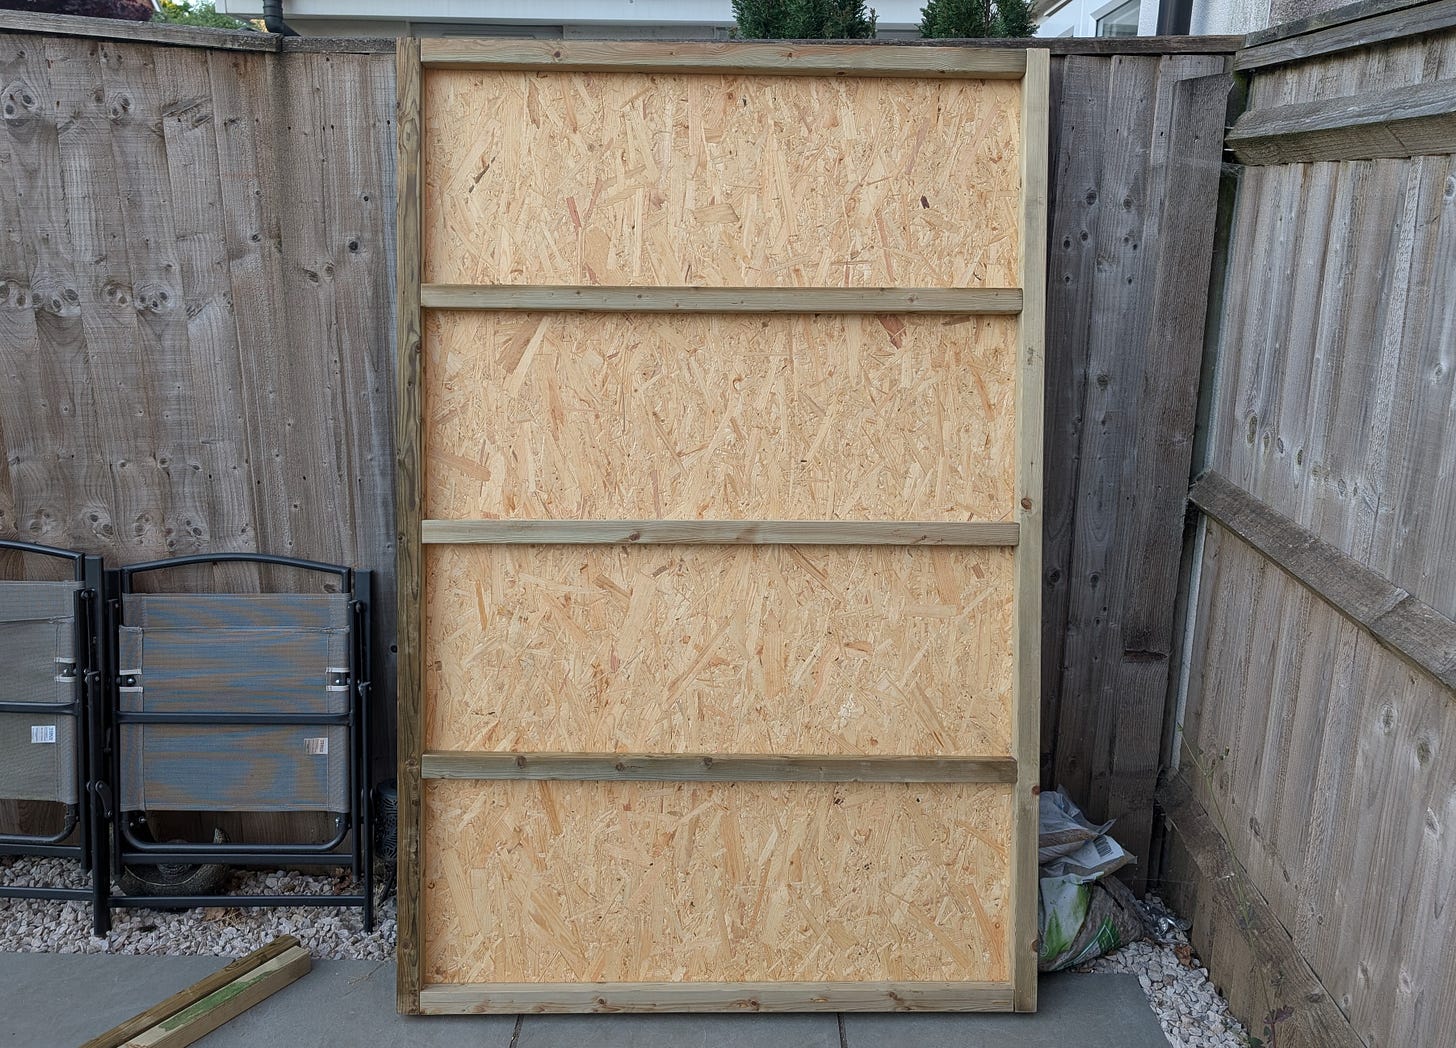
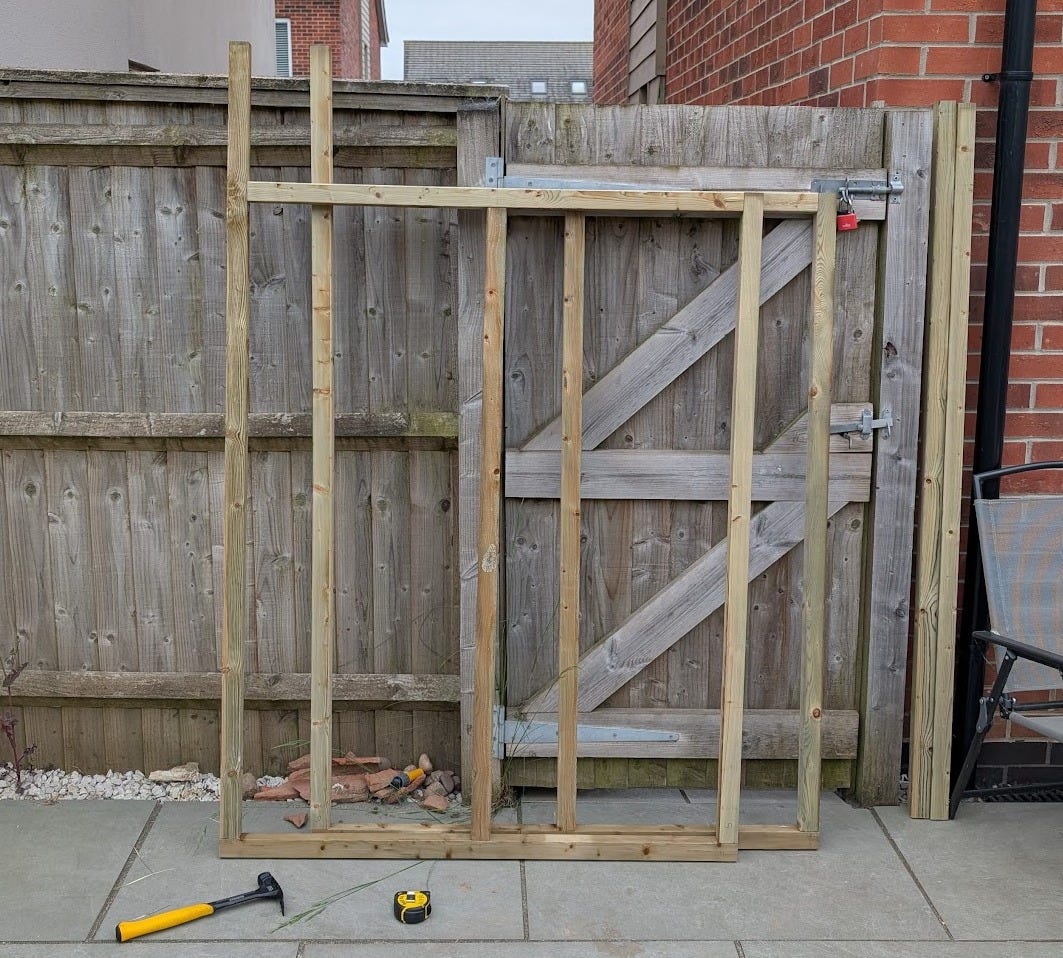
Here’s the (almost) completed sides. They’re just missing the roof rails with the birdsmouth joints, which will be covered in a separate post. Keep an eye out, you won’t want to miss it… It didn’t go well!
What’s the most common mistake you make on your projects? I want to hear about it!
Progress, Problems & The Road Ahead
The build is going well so far, and it’s been fun too. I’m making progress quicker than expected with the limited time I have, which can’t be bad!
A couple of mistakes have been made, but nothing that couldn’t be easily sorted. Let’s hope it stays that way! I enjoy these mistakes. They’re opportunities to learn, and sometimes learning the hard way is the best way to learn. You know what they say: F.A.I.L. - First Attempt In Learning.
I still have the back, front, doors, roof rails and all the cladding to do, so I’m a long way from the finish line yet, and there are a lot of challenges still to come, so stay tuned!
See you next time!
How You Can Help!
Just hitting that like button on my posts helps me to get The Woodworking Shed noticed!
If you'd truly like to support my mission to make woodworking more accessible, you can do so by becoming a paid subscriber or by buying me a coffee!
Early bird paid subscribers get 33% off forever!
Your support directly enables the growth of The Woodworking Shed and supports accessible woodworking!
Look forward to hearing from you -
~ The Woodworking Shed
Hungry for more?
Here’s the next episode!
Check out my other content! Head over to the homepage to find it all!





If your “75 mm” nail is a 16d common, the standard parlance, you’re gonna get splits. One traditional way of avoiding splits is to turn the nail upside down and blunt the sharp end of the nail with your hammer. This blunting causes the nail to tear through the grain of the wood instead of dividing it into a split. It isn’t a perfect solution like pre-drilling, but helps a lot.