Watch It Rise! The Storage Shed Takes Shape
It's assembly time! As the storage shed build comes to a close there are only a few hurdles left.
The Storage Shed Takes Shape
Welcome back to The Woodworking Shed! The finish line is in sight, all the panels are finished, the birdsmouth joints are cut, and the only thing remaining is to build it… finally!
In this post, I'll be starting the assembly process and tackling the hurdles that it throws at me, the end is close now…
Let's get to it!
New to The Woodworking Shed?
Catch Up: Explore every episode in this series and more on the index page!
Last Episode: Missed the last episode? Dive in here:
Join the Community: Subscribe for free to get the latest projects, tips, and tales from The Woodworking Shed. Let's build something together! 🪚
Cladding Clash: Assembling the First Wall
Call it confidence or stupidity, but I didn't do any dry assembly while building this shed. I just assumed everything would line up. Thankfully, it did bar a couple of minor hurdles.
When offering the first side panel up to the back wall, it didn't fit because the cladding was getting in the way of the angled roof beam. An easy fix! To make it fit, I cut a small piece off and it slotted together perfectly, letting me screw the panels together. We have two walls!
Fitting the second side panel was the same again, chop down the side of the cladding and screw it to the other two. One thing to note is that while assembling these panels I didn’t screw them down to the base, that comes later!
The front panel was a little tricky to get into position. There were no cladding issues but the panel was heavy! My plan was to lift it into position then unscrew the doors and walk out through the door like some kind of grand opening…
That didn't happen though. In the end I had to unscrew the doors to allow me to get a proper grip on the panel to position it. Here’s the end result:
With all four walls screwed together it was finally time to secure it to the based!
Forethought & Tolerance
Working with wood and working alone are two things that can result in tricky situations from time to time. In my experience these situations can all be overcome with a little planning.
Forethought
When it comes to single person assembly you really need to plan ahead. Assembling panels can be tricky alone, they’re big, and you need to balance them on the edge of the base while also trying to screw them together. It sounds tough but by planning ahead and fitting the screws into the panels in advance you can save a lot of hardship.
It’s always easier to have a helper if possible though!
Tolerance
So why didn't I screw down each panel to the base as they were fitted? In a word - tolerance. Wood expands, shrinks, twists and warps with time, this can happen very quickly if the wood is wet when you work it…
Even if my measurements were perfect when I built the panels, it's highly unlikely that the final panels were going to be dimensionally perfect. By allowing the sides to be adjusted slightly when fitting the final wall is much easier and once it all gets screwed down it’s rock solid!
Back to the build…
Fitting The Roof Beams
With all four sides screwed down to the base, it's time to look up. Let's get a roof on this thing! There's three roof beams to fit and they all need to be lined up with the vertical supports on the back wall.
To help line them up straight I transferred the lines for the vertical supports onto the top of the back wall. There was an immediately obvious issue when I positioned the first roof beam…
The cladding was in the way… again! This time the solution was a little more complicated. Time to break out the chisels!
I marked out the position of the cut out by continuing the lines on the top wall over onto the cladding. I added a knife wall before carefully chiselling away the material.
Because the cladding was already fitted, I couldn't cut the sides of the notch with a saw. I was worried that working with a chisel would damage the cladding and look a bit rubbish! Those worries were unfounded though as it turned out great!
Once the notch was cut it was time for the trial fit, it turned out nicely, but that notch looked so good it’s almost a shame to cover it up. I chose to secure the roof beams to the shed with screws rather than nails, A wood split at this point would have been devastating and I just couldn’t take that risk…
Want to help make woodworking accessible? Share this post! Let's build a community and inspire more woodworking projects. 🪚🤝
The Final Cladding!
With all of the roof beams fitted the whole thing is starting to look like a shed, exciting! There's one final hurdle to overcome before the roof can go on. The cladding at the top of the front panel needs to be notched out for the roof beams.
I decided that the best way to do this would be in three sections as it makes the whole operation less complex.
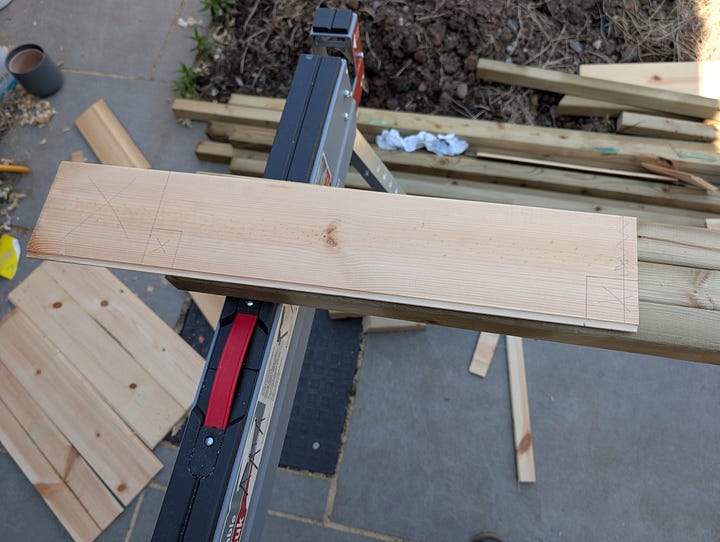
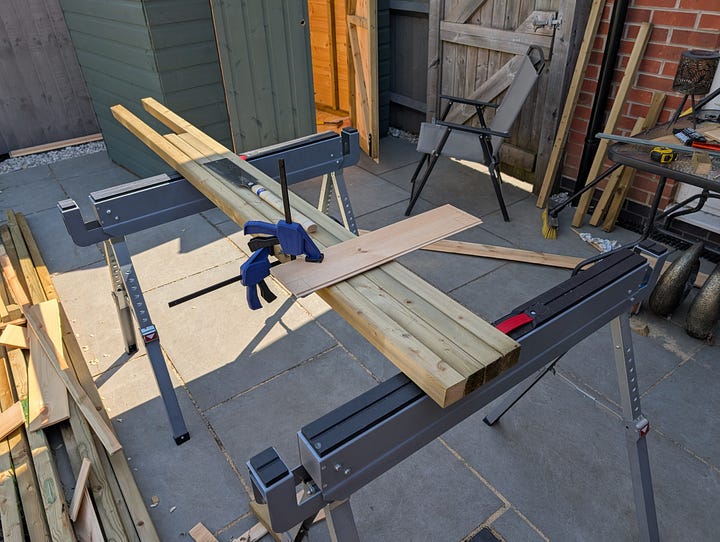
I measured and marked each piece and cut it to size on my temporary workbench made up from spare pieces. This has proven to be really useful - like having a workbench, I suppose! But the ability to move and adjust it is amazing. Perhaps I should do something more permanent with the idea…


Getting the pieces to fit properly was tricky, I had to make a couple of adjustments but all it took was a little paring with a chisel to get them seating correctly. This only highlighted the next issue though! The cladding was too tall…
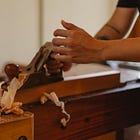
I’ve been looking for an excuse to use my planes ever since I got them, so finding a straight edge that “unfortunately” stood proud was like turning a problem into a solution. Enter the No.5…
I love that photo.
I clamped the cladding pieces into my temporary workbench and shaved it down to the correct height. It took a little trial and error to get the fit right (and to get the plane shaving but that’s a story for another day!), but the outcome was well worth the time spent!
The other two pieces went through the exact same process before going off to the paint booth (the driveway) for a fresh lick of green and voila, I think it looks great!
Subscribe for free to get the latest projects, tips, and tales from The Woodworking Shed. Let's build something together! 🪚
Outro
We’re so close to the finish line now… The roof is ready to be fitted and then there’s just some trim left to do! It’s been a really enjoyable project so far and I’ve learned a lot, but at this point, I’m just excited for it to be finished!
I'm actually jealous of my own work here… this storage shed is far more sturdy and better suited to a workshop than my woodworking shed… And it doesn’t even have a roof on it yet! It's just a shame about the size, else I'd have to steal it for myself.
See you in the next update!
How You Can Help!
Just hitting that like button on my posts helps me to get The Woodworking Shed noticed!
If you'd truly like to support my mission to make woodworking more accessible, you can do so by becoming a paid subscriber or by buying me a coffee!
Early bird paid subscribers get 33% off forever!
Your support directly enables the growth of The Woodworking Shed and supports accessible woodworking!
Look forward to hearing from you -
~ The Woodworking Shed
Hungry for more?
Check out my other content! Head over to the homepage to find it all!


Looks great. Looking forward to seeing it done.
Love the progress. I wish I could say the same for ETW, but I've got too many distractions that need attention.