


From Zero to Workshop - The Shed Transformation Begins!
The first episode of the Workshop series by The Woodworking Shed that that will document the transformation of my cluttered shed into a habitable workspace.

New to The Woodworking Shed? Don't worry! I've made a handy index page to find every episode in this series and more!
Let’s Go!
Welcome to the first episode of The Woodworking Shed workshop project series!
This series will be documenting the transformation of my private junkyard into a functional woodworking workshop.
This is ground zero! - This is where the content for all future posts will be generated.
This series, and “The Woodworking Shed” as a whole! Is about a lot more than simple shed renovation. It is about a journey of creation and self-discovery and I am excited to be documenting this process.
So grab a coffee and let’s get this show on the road!
“The Shed”
It’s nothing fancy!
It wasn’t expensive. It was bought in a mad rush when me and my partner Hayley first moved in together. We desperately needed somewhere to store our bikes that wasn't the dining room!
It might have been cheap but it’s well built and was easy to assemble. I actually assembled it by myself in a day (Go me!). Although, a second set of hands would have been helpful at times…
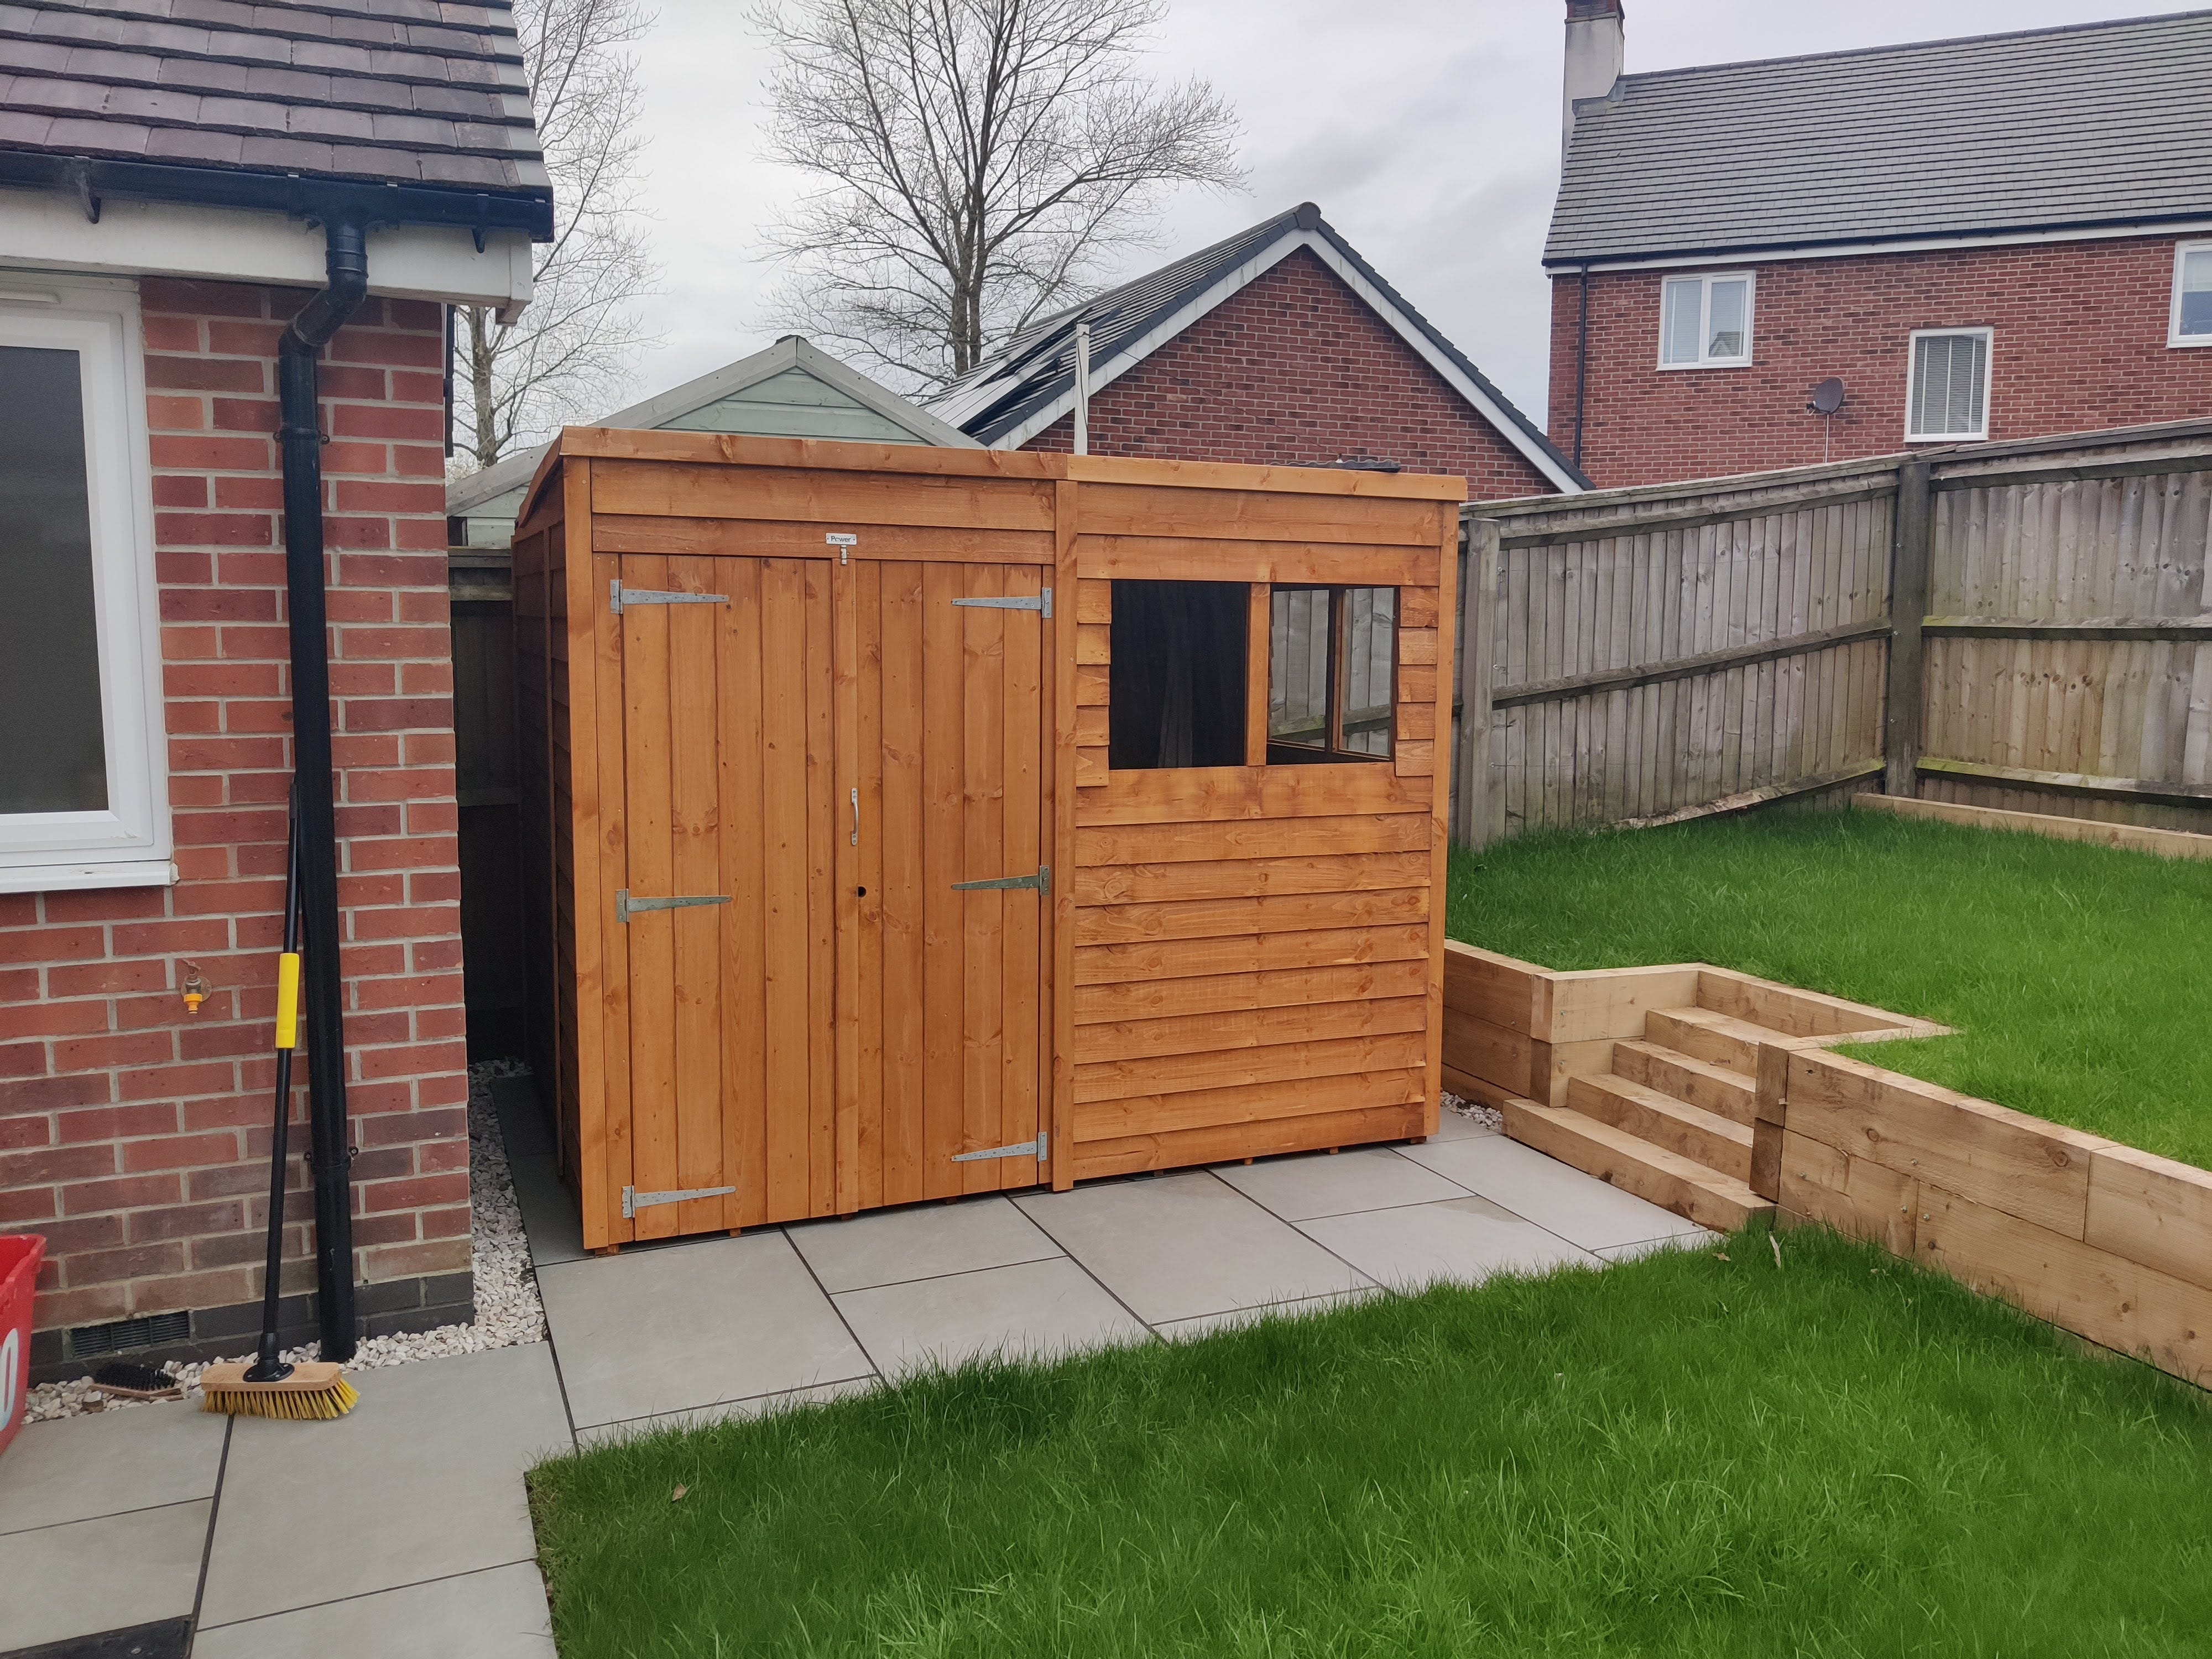
The Shed is made and sold by Power Sheds in the UK. My Dad has also bought two of their sheds (Also built by me!) and is happy with both!
Here is a link for anyone interested!
It looks like it has been upgraded since we purchased ours and now has metal sills for the windows and tongue and groove cladding - Features I wish ours had…
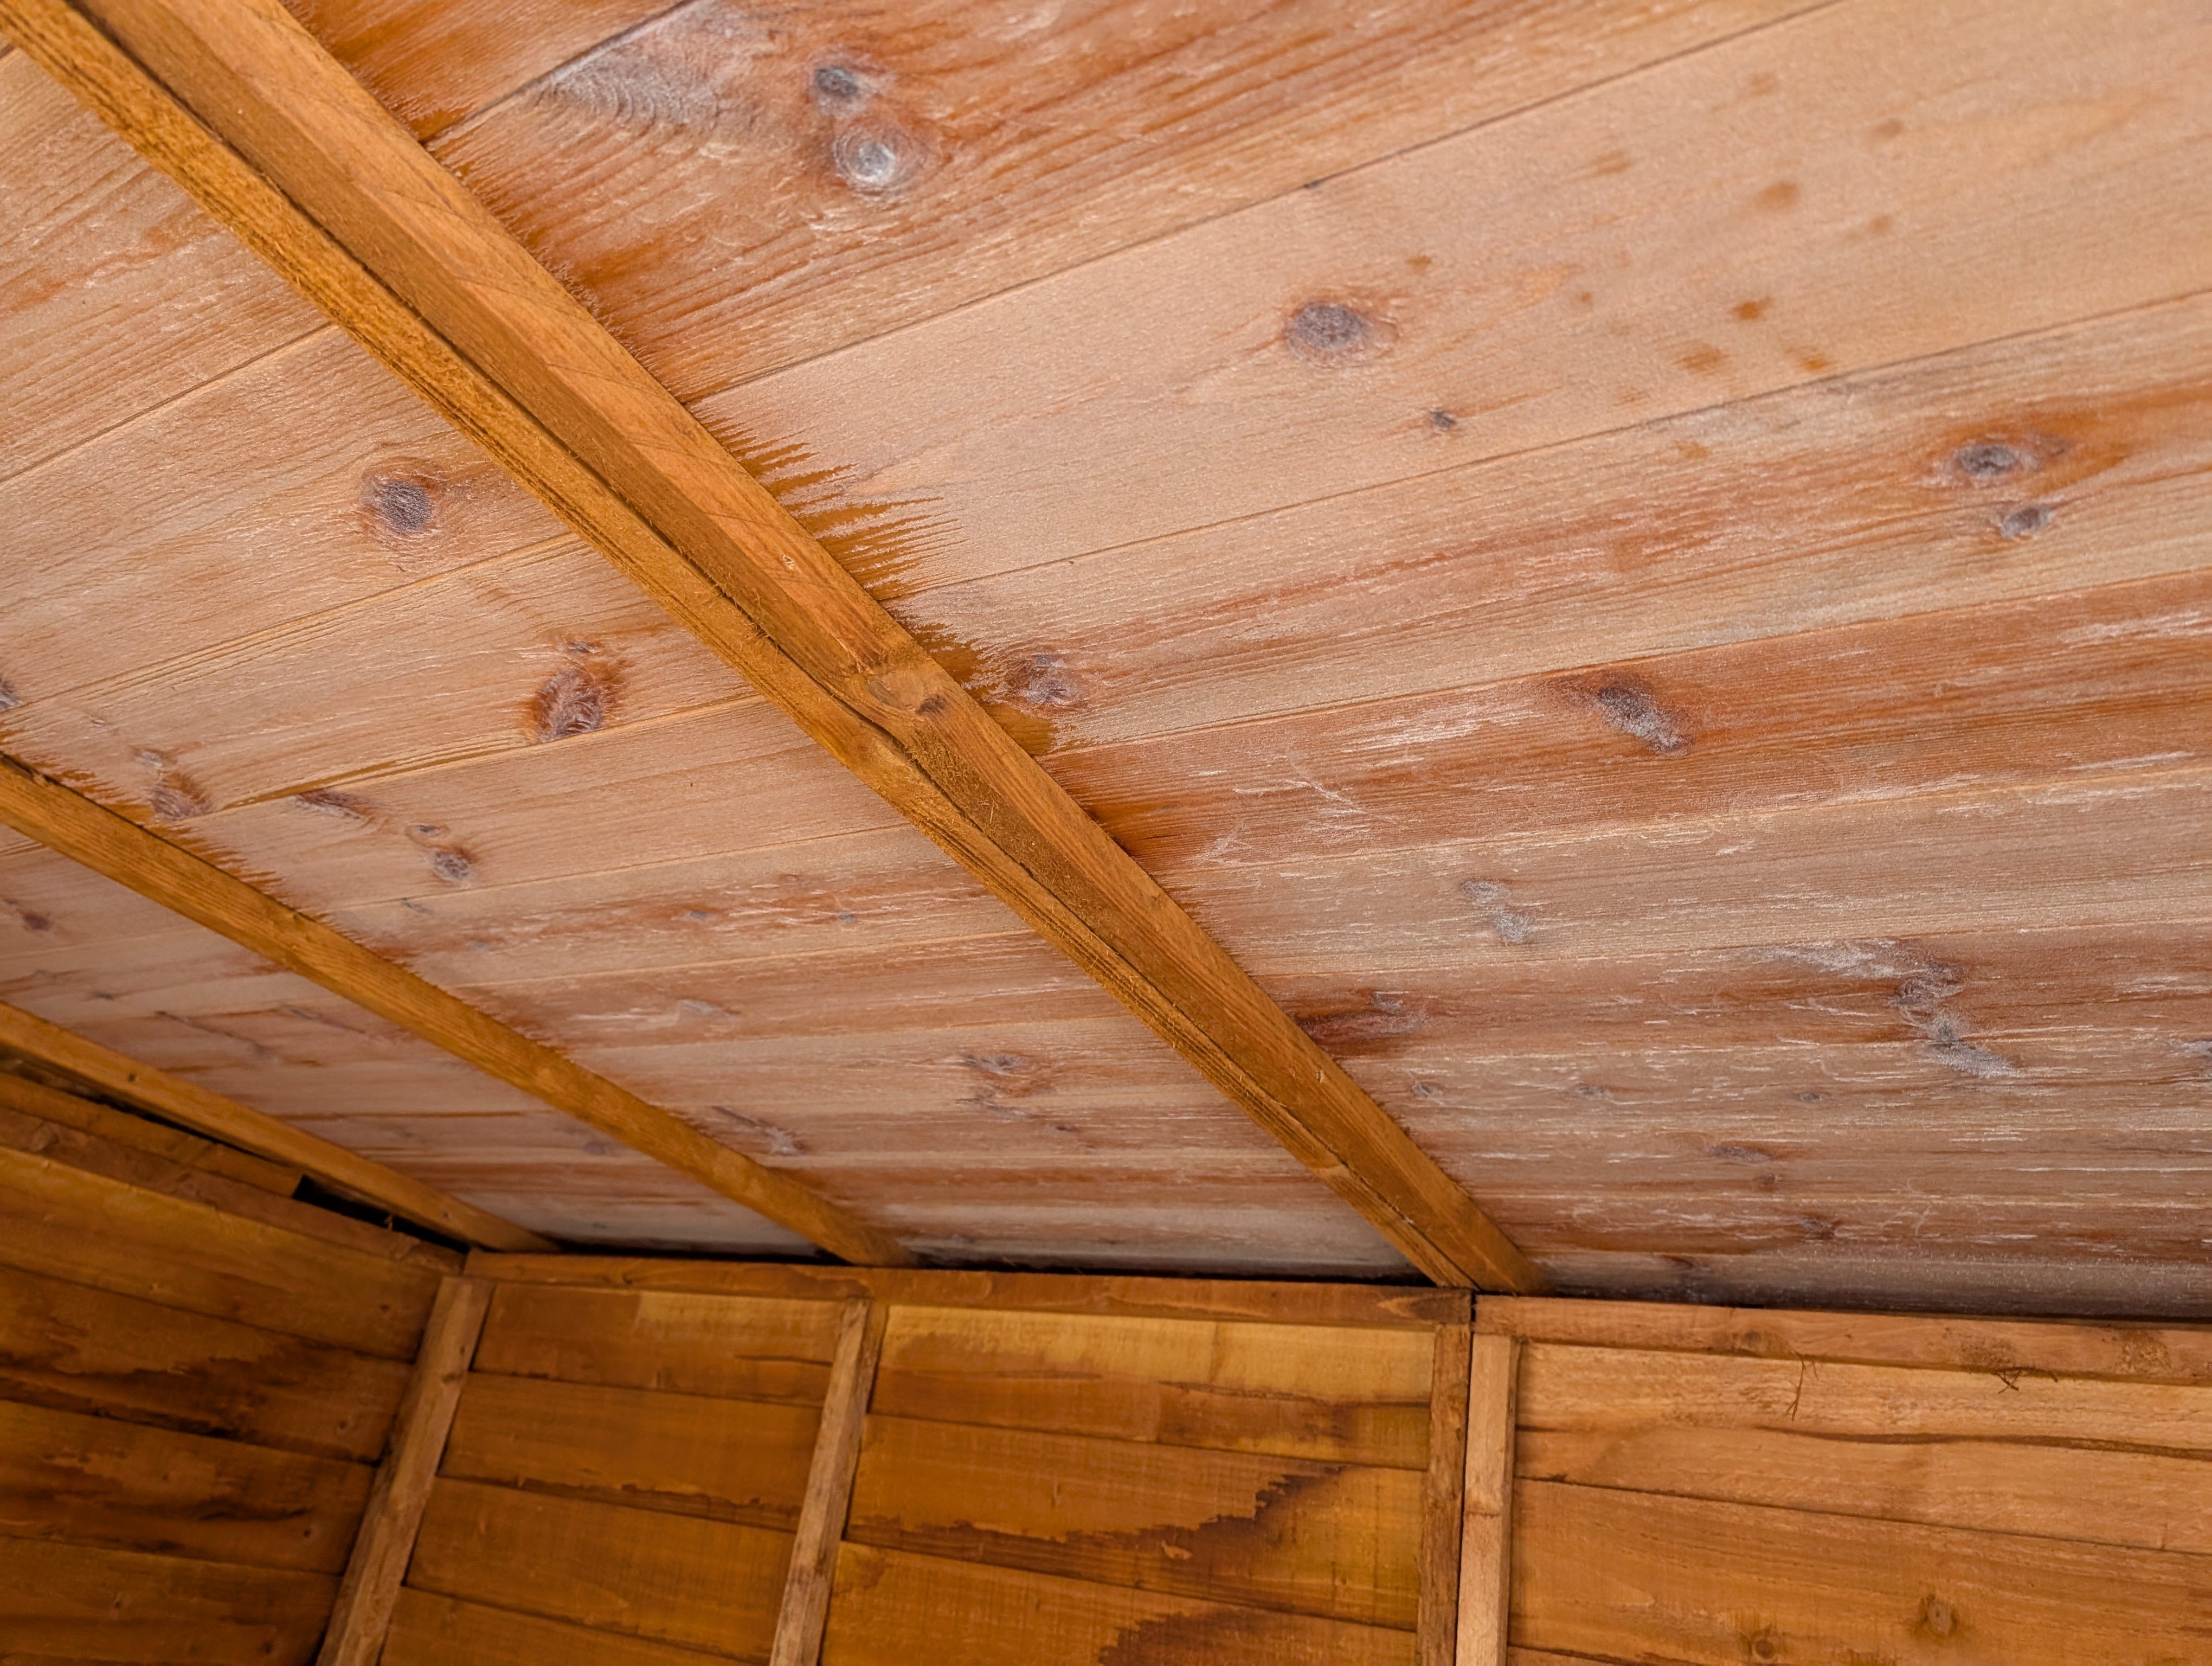
Being a budget shed the framing material is just over an inch square and it is clad with feather edge boards. Hopefully, these details won’t cause any problems down the line!
Making it Habitable
Having decided to embark on this new journey - I started to formulate a plan in my head on how I was going to deal with the first challenge…
…Transforming the shed into a shed workshop!
I have spent numerous hours researching shed workshops and what people do to create their work environment. The consensus is always the same:
It needs to be insulated.
But that’s great, I don’t want to become a fair-weather hobbyist!
A nice cosy shed seems like a good direction to me. Besides... If this doesn’t pan out I guess I’ll have a new home office instead…
Negativity aside -
Insulating a shed is a complex affair, or so it seems when you first delve into it.
Damp control, R values, air gaps, there’s a lot of science to it… How much of that really matters in a shed? I have no idea!
What seems to be the most important element for a shed is damp control.
So How ARE Sheds Insulated?
Well, as it happens the best time to insulate your shed is when you’re building it.
Most of the content I have found online revolves around people building new bespoke outbuildings for their workshops.
There are loads of videos on YouTube but I particularly enjoyed the videos by The DIY Guy. His videos follow the same process as many others but I liked his style.
Here’s the gist of it:
Wrap the exterior with a vapour barrier like a birthday present!
Stuff the insides with insulation (usually PIR boards) and seal air-tight with aluminium tape.
Sheath the interior with OSB, plywood or plasterboard to finish.
The vapour barrier prevents moisture, the insulation regulates temperature, and the sheathing looks pretty.
Quite simple really…
But I Already Have a Shed!
I have no intention of buying or building a new shed at this time, it’s not an option.
I would love to design and build a bespoke shed someday. Perhaps in the future, I will. If that day comes there will be a raft of posts to be written about it - But today is not that day.
Today, I need to make do with what I have and I would much rather spend my precious budget on woodworking tools!
I may not be able to reproduce the exact process of insulating a new build shed or outbuilding - but what I can do is adapt it…
The (First) Plan
I will use an outdoor all-weather sealant to fully seal the shed - This should ensure that any water paths are closed and remove the draught - Fingers crossed!
I will also paint the inside with fence paint to provide a layer of protection to the internal wood. I am not sure if this is necessary but as these surfaces will never see the light of day again it gives me peace of mind knowing that I did something.
After the shed has been sealed and painted, I will install an aluminium foil vapour barrier - like a reverse shrink wrap - to the interior (I have always wanted to own a staple gun!).
For Insulation, I will add a layer of 20 mm PIR boards sealed with aluminium foil tape.
Finally, a layer of 9 or 11 mm OSB sheathing will provide my internal finished surface.
What do you think of my plan? Have you ever done anything similar? Let me know in the comments I want to hear about it!
Clearing Out
It’s great to have a plan and all, but opening the shed door I can barely get inside for all the clutter. I wish I had a picture to share of the sheer magnitude of junk that was inside - unfortunately, I decided to start writing after starting the clearout.
Clearing out the shed was easy work. Most of it could just be thrown out. However, I did find mould on a lot of things. - So we have a damp problem, great!
It’s still cluttered in there, but at least now I can get inside. Moving around is possible but it is akin to the puzzle game - Rush Hour.
The damp source seemed to be from the windows leaking, the other side of the shed was relatively dry in comparison. Did you know that the windows needed to be sealed? It never even crossed my mind… Oops!
Problems Already…
I bought 4 tubes of Bond-it all-weather sealant from a local DIY store. It is rated for use outdoors, can be painted, and according to the label it can be used on wood. It seemed like a good fit and not too expensive.
I had some rare free time on a weekend morning, so I decided to crack on and get started. The inside of the shed windows needed sealing as a priority to prevent any further leaks. It was freezing outside and it had been snowing but I did not expect to enter the shed to find a layer of frost covering the whole roof…
Thinking on my feet I moved our dehumidifier into the shed. I thought leaving it running for a few hours would help to remove the excess moisture and start to dry out the interior.
No more than 15 minutes later I checked to make sure that I hadn’t burnt the shed down, or worse: Broken the dehumidifier. What I actually found was that it was now raining inside the shed… Oops.
Overshadowing Doubt
Creating a micro rain climate inside my shed cast an immediate shadow of doubt in my mind…
How could I possibly succeed in making this space into a dry workshop when it's full of water?
I dismissed the thought and tried to remove as much of the surface water as possible with an old tea towel.
Since the rain incident, I have had the dehumidifier running in there several times. My Dad has also gifted me an old oil radiator which heats the place up really quite well! Thankfully it is now much drier in there and my confidence is fully restored that I can achieve my goal of a usable workspace.
Have any readers insulated a shed before? Or perhaps encountered a make-or-break moment that caused self-doubt? Share in the comments!
Enjoy this episode? Why not share it?
I want to build The Woodworking Shed into a strong, engaging community. So if you know someone else who may enjoy it too: Don’t let them miss out - Share it!
New to the shed? Pull up a chair…
Subscribe now to stay updated on my shed transformation, tool discoveries, and woodworking projects. Don’t miss out!
Got something to say? Join the conversation!
Have a question, a tip, or just want to say hello? Leave a comment below! I love hearing from my readers and building a strong community!
Look forward to hearing from you -
~ The Woodworking Shed
Hungry for more?
Here’s the next episode!

Check out my other content! Head over to the homepage to find it all!

Damn that grass looks fresh!
About the shed ... what to say? As far as I can gather from the pictures, there's no point in trying to seal it with caulk from the inside. The construction is so open that the dehumidifier was basically trying to dry out the airspace over Britain. Looks like damp (rust), draughts and low temperatures will be your problems. A small woodburning oven would be my choice for heating and drying, but that steals space and then there's the fire hazard (or building code / regulations/insurance etc).
Sure you haven't got a nice and dry corner inside your house where you could fit a small workbench? Handtool woodworking can be quite 'low-key' if you confine yourself to small, benchtop projects.
Apart from building a proper shed, I have no good advice.